
The Honeywell Pro 6000 Thermostat is a versatile, user-friendly device designed for efficient temperature control. Its installation requires careful planning, as outlined in the installation manual PDF, ensuring compatibility with various HVAC systems.
Overview of the Honeywell Pro 6000 Series
The Honeywell Pro 6000 Series is a line of programmable thermostats designed for reliable temperature control and energy efficiency. These thermostats are known for their user-friendly interface and compatibility with a wide range of HVAC systems. The series includes models like the TH6110D1021 and TH6320WF1000, offering features such as touch-screen displays, remote sensors, and advanced scheduling options.
The Pro 6000 Series is ideal for both residential and light commercial use, providing precise temperature management. Its programmable capabilities allow users to create custom heating and cooling schedules, optimizing comfort and energy savings. The installation manual PDF is essential for proper setup and configuration.
Importance of the Installation Manual
The Honeywell Pro 6000 installation manual is crucial for a successful setup. It provides step-by-step instructions, ensuring compatibility with your HVAC system and proper wiring. Without it, errors may occur, leading to system malfunctions or safety risks. The manual also outlines safety precautions, helping users avoid electrical hazards. By following the guide, you can optimize the thermostat’s performance, ensuring energy efficiency and comfort. The installation manual PDF is a comprehensive resource, covering everything from initial setup to advanced configurations, making it indispensable for both professionals and DIY installers.

Pre-Installation Requirements
Before installing the Honeywell Pro 6000, ensure your HVAC system is compatible and gather necessary tools. Refer to the installation manual PDF for specific requirements.
Compatibility with HVAC Systems
The Honeywell Pro 6000 is compatible with most HVAC systems, including conventional heating and cooling units. It supports multi-stage systems, heat pumps, and dual fuel configurations, making it a versatile option for various setups. Ensure your system matches the thermostat’s specifications, as detailed in the installation manual PDF. Proper compatibility ensures efficient operation and avoids potential issues during installation or use. Always verify system requirements before proceeding to guarantee optimal performance and reliability.
Necessary Tools and Materials
Before installing the Honeywell Pro 6000, gather the necessary tools and materials. You’ll need a screwdriver, wire strippers, a voltage meter, and a level to ensure proper mounting. Additional materials include screws, wall anchors, and possibly wire connectors. Refer to the installation manual PDF for a detailed list tailored to your specific setup. Having all tools and materials ready will streamline the process and prevent delays. Always follow safety precautions, such as turning off power to the HVAC system, to avoid potential hazards during installation.
Installation Process
The Honeywell Pro 6000 installation involves turning off power, removing the old thermostat, and wiring the new device. Follow the installation manual PDF for precise steps.
Step-by-Step Wiring Instructions
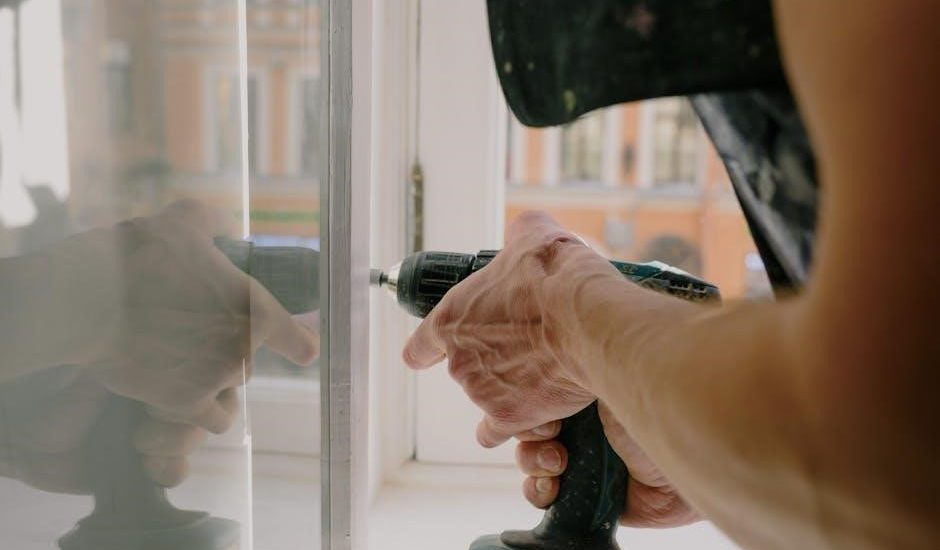
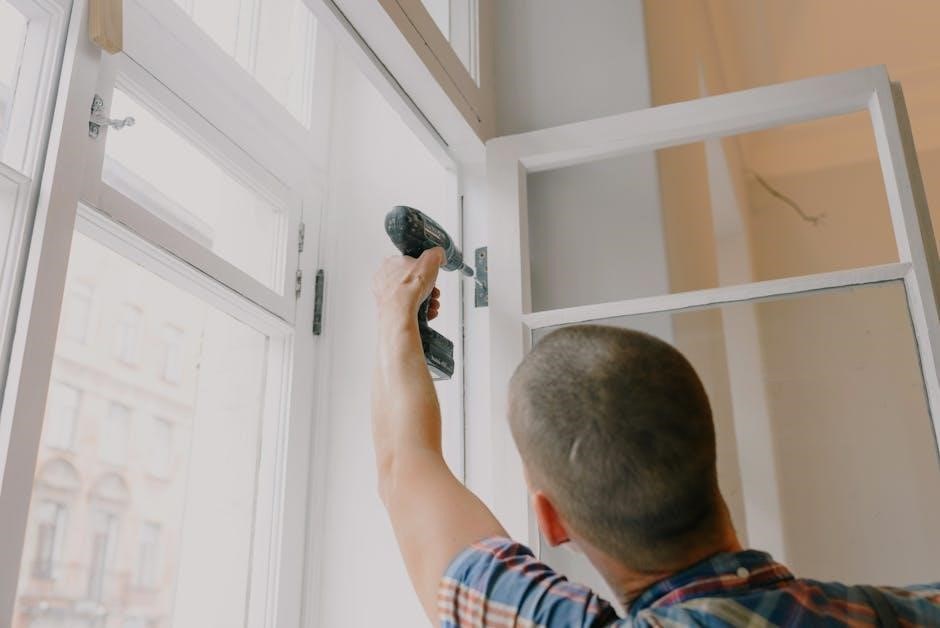
Start by turning off the power to your HVAC system. Locate the wires connected to your old thermostat. Refer to the Honeywell Pro 6000 installation manual PDF to identify each wire by color or label. Gently pull the wires free and label them if necessary. Mount the new thermostat base, ensuring it is level. Insert the wires into their corresponding terminals according to the manual. Secure the faceplate and turn the power back on. Follow the on-screen prompts to complete the setup. If unsure, consult the wiring diagram provided in the manual or contact a professional. Proper wiring ensures safe and efficient operation.
Mounting the Thermostat
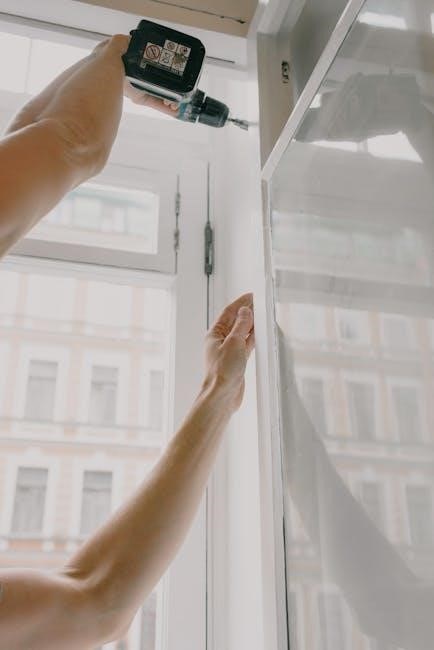
Mounting the Honeywell Pro 6000 Thermostat begins with ensuring the wall surface is level and clean. Remove the faceplate from the old thermostat and use it as a template to mark the screw holes. Drill pilot holes and insert wall anchors if necessary. Gently pull the wires through the base plate and secure it to the wall using the provided screws. Ensure the thermostat base is aligned properly and tightened firmly. Refer to the installation manual PDF for specific mounting instructions. If your model includes a built-in level tool, use it to confirm the thermostat is straight. Double-check the alignment before proceeding.
Connecting to the HVAC System
To connect the Honeywell Pro 6000 Thermostat to your HVAC system, ensure the system is powered off. Locate the appropriate wires from your HVAC system and connect them to the corresponding terminals on the thermostat. Refer to the installation manual PDF for terminal labeling (e.g., R, W, Y, G, C, etc.) to ensure correct connections. Secure the wires tightly to avoid loose connections. After wiring, turn the power back on and test the system to confirm proper operation. If the system does not respond, double-check the connections and consult the manual for troubleshooting guidance.
Initial Setup and Configuration
Power on the Honeywell Pro 6000 Thermostat and follow the on-screen prompts to set basic parameters like temperature units and time format. Refer to the installation manual PDF for detailed guidance on configuring heating and cooling modes to match your system requirements.
Powering On the Thermostat
After completing the installation, power on the Honeywell Pro 6000 Thermostat by ensuring the HVAC system is connected and the circuit breaker is switched on. Verify that the display lights up and the system begins its initialization process. If the thermostat does not power on, check the wiring connections and ensure they match the installation manual PDF guidelines. Once powered, the thermostat will automatically run through a self-test to confirm proper functionality. If issues arise, refer to the troubleshooting section for resolving common power-related problems.
Setting Up Basic Parameters
Once powered on, navigate to the menu to configure essential settings. Set the time and date, ensuring accuracy for scheduling. Choose between °F or °C for temperature units. Select the appropriate HVAC system type, such as heat pump or gas furnace, to match your setup. Configure the temperature range to avoid extreme settings. Enable or disable features like auto-changeover or smart recovery based on your preferences. Save these settings to ensure proper system operation. Refer to the installation manual PDF for detailed guidance on selecting the correct parameters for your specific HVAC configuration. Proper setup ensures efficient and reliable performance.
Configuring Heating and Cooling Modes
After initial setup, select the desired operating mode (Heat, Cool, or Off) based on your needs. In Heat mode, set your preferred temperature, and the system will activate heating. In Cool mode, set your desired cooling temperature. Off mode disables both heating and cooling. Adjust the temperature range to avoid extreme settings. Ensure the system type (heat pump, gas furnace, etc.) matches your setup. Test the system to confirm heating and cooling activate correctly. Refer to the installation manual PDF for specific instructions tailored to your HVAC system. Proper configuration ensures efficient temperature control and system performance. Always test settings after changes.
Programming the Honeywell Pro 6000
Program the Honeywell Pro 6000 to create custom schedules, set temperature holds, and adjust advanced settings for optimal comfort and energy efficiency, as detailed in the manual.
Creating a Weekly Schedule
Creating a weekly schedule on the Honeywell Pro 6000 allows you to customize temperature settings for each day. Using the manual, set specific times and temperatures for heating and cooling modes. This feature optimizes energy usage by adjusting temperatures when you’re asleep or away. The thermostat’s interface guides you through selecting days and setting temperature points. Ensure consistency by copying schedules to multiple days or adjusting individually. Proper scheduling enhances comfort and efficiency, as outlined in the installation manual. Regular updates and adjustments can further refine your schedule to meet changing needs throughout the year.
Setting Temperature Hold
Setting a temperature hold on the Honeywell Pro 6000 allows you to override the scheduled temperature temporarily. This feature is useful for maintaining a specific comfort level without altering the weekly schedule. According to the manual, you can activate the hold by selecting the desired temperature and confirming it on the thermostat. The hold remains active until the next scheduled temperature change or until manually canceled. This function provides flexibility, especially during unexpected events or when additional heating or cooling is needed. Proper use of the temperature hold ensures energy efficiency while maintaining personalized comfort settings throughout the day.
Adjusting Advanced Settings
Adjusting advanced settings on the Honeywell Pro 6000 allows for customized control over your thermostat’s performance. These settings, detailed in the installation manual PDF, include options like temperature differential, cycle rate, and smart recovery. The temperature differential setting determines the range at which the HVAC system activates, while the cycle rate manages how frequently the system operates. Smart recovery enables the thermostat to learn your system’s behavior and prepare for scheduled temperature changes. Properly configuring these settings ensures optimal comfort and energy efficiency; Always refer to the manual for specific instructions to avoid misconfiguration and maintain system reliability.

Troubleshooting Common Issues
Troubleshooting the Honeywell Pro 6000 involves identifying common problems like wiring errors or display malfunctions. The installation manual PDF provides step-by-step solutions to resolve these issues efficiently.
Resolving Wiring Problems
Wiring issues are common during Honeywell Pro 6000 installation. Ensure all connections match the installation manual PDF. Check for loose wires and verify compatibility with your HVAC system. If the display doesn’t power on, inspect the R and C terminals. Consult the manual for correct wiring configurations to avoid system malfunctions. Properly securing wires prevents short circuits and ensures reliable operation. If issues persist, refer to troubleshooting guides or contact Honeywell support for assistance.
Fixing Display Issues
If the Honeywell Pro 6000 display is unresponsive or shows incorrect information, refer to the installation manual PDF for troubleshooting steps; Ensure the thermostat is properly powered and all wiring connections are secure. Check for firmware updates, as outdated software can cause display malfunctions. If the issue persists, reset the thermostat by removing the batteries or disconnecting power for a few minutes. For complex problems, consult the manual’s diagnostic guide or contact Honeywell support for further assistance. Regular maintenance and updates can help prevent display issues and ensure optimal performance.
Addressing System Incompatibility
System incompatibility can prevent the Honeywell Pro 6000 from functioning correctly. Always verify that your HVAC system matches the thermostat’s specifications, as outlined in the installation manual PDF. If issues arise, check the wiring configuration and ensure it aligns with the system type (e.g., heat pump, gas furnace). Refer to the manual’s compatibility chart to confirm suitability. If the thermostat still doesn’t integrate, consult a professional to assess the system. Updating the thermostat’s firmware or adjusting advanced settings may also resolve incompatibility problems. Ensuring proper system alignment guarantees efficient operation and optimal temperature control.
Maintenance and Upkeep
Regular maintenance ensures the Honeywell Pro 6000 operates efficiently. Clean the display and internal components periodically to prevent dust buildup, as detailed in the installation manual PDF.
Cleaning the Thermostat
Cleaning the Honeywell Pro 6000 thermostat is essential for maintaining its performance. Use a soft, dry cloth to gently wipe the display and exterior surfaces. Avoid harsh chemicals or liquids, as they may damage the device. For internal cleaning, carefully remove the faceplate and use compressed air to eliminate dust buildup. Ensure the thermostat is powered off during cleaning to prevent any electrical issues. Regular cleaning prevents malfunctions and ensures accurate temperature readings. Refer to the installation manual PDF for detailed instructions and safety precautions to maintain your thermostat effectively.
Updating Firmware
Updating the firmware of your Honeywell Pro 6000 thermostat ensures optimal performance and access to the latest features. Begin by powering off the thermostat and disconnecting it from the HVAC system. Download the most recent firmware version from the Honeywell website or through the Honeywell Home app. Use a USB drive to transfer the firmware file to the thermostat. Follow the on-screen instructions to initiate the update process. Allow the system to complete the installation without interruption. Once updated, restart the thermostat and reconnect it to your HVAC system. Refer to the installation manual PDF for detailed steps and troubleshooting tips to ensure a smooth firmware update. Always verify the compatibility of the firmware version with your specific model to avoid any installation issues. Regular firmware updates are crucial for maintaining the thermostat’s functionality and ensuring it operates efficiently with your heating and cooling systems. This process is straightforward when following the guidelines provided in the manual, which outlines each step clearly to prevent errors. By keeping your firmware up to date, you can enjoy enhanced features and improved performance from your Honeywell Pro 6000 thermostat.
Safety Precautions
Ensure electrical safety by turning off power before installation. Follow guidelines to avoid risks like electrical shock or system damage.
Electrical Safety Tips
Always disconnect power to the HVAC system before starting installation. Use a voltage tester to confirm no electricity is present. Avoid touching wires with bare hands to prevent shocks. Ensure all connections are secure to prevent short circuits. Never bypass safety features or ignore warnings from the thermostat. If unsure, consult a licensed electrician. Keep the area dry to avoid electrical hazards. Follow the manual’s guidelines strictly to ensure safe and proper installation of the Honeywell Pro 6000 thermostat.
Avoiding Common Mistakes
Ensure compatibility with your HVAC system before installation. Incorrect wiring is a frequent issue; double-check connections as per the manual. Don’t skip testing after installation; verify all modes work. Avoid over-tightening wires, which can damage the thermostat. Mounting the device on an uneven surface can cause malfunctions. Ignoring firmware updates may lead to performance issues. Not setting the correct system type (e.g., heat pump, gas furnace) can result in inefficient operation. Always refer to the Honeywell Pro 6000 manual for specific instructions to prevent these common pitfalls and ensure optimal performance.
Frequently Asked Questions (FAQs)
How do I reset my Honeywell Pro 6000? Can I install it myself? What if the display is blank? Find answers in the manual or contact support.
General Installation Queries
Common questions include compatibility with existing HVAC systems, required tools, and wiring instructions. Ensure your system matches the thermostat’s specifications for optimal performance. Refer to the manual for detailed guidance on each step to avoid installation errors. Professional help is recommended if you’re unsure about any part of the process. The Honeywell Pro 6000 installation manual provides clear, step-by-step instructions to help you get started. Reviewing it thoroughly before beginning ensures a smooth setup and proper functionality. Addressing these queries upfront prevents issues during and after installation.
Post-Installation Support
After installing the Honeywell Pro 6000, users can access comprehensive support through various channels. The installation manual PDF provides troubleshooting tips for common issues. Honeywell’s customer service offers assistance for any post-installation concerns. Additional resources, such as online forums and video guides, are available to address specific problems. Regular firmware updates ensure optimal performance. Users can also contact certified technicians for professional help. This support network helps maintain the thermostat’s efficiency and resolve any operational challenges quickly. Ensuring your system runs smoothly, Honeywell’s post-installation support is designed to provide peace of mind and reliable solutions.

Additional Resources
Access the Honeywell Pro 6000 manual PDF online for detailed instructions. Explore official Honeywell websites, forums, and customer support for troubleshooting guides and installation tips. Utilize these resources to optimize your thermostat’s performance and address any installation-related queries effectively. These materials ensure a seamless setup and operation experience, providing comprehensive support for users.
Downloading the Honeywell Pro 6000 Manual PDF
Downloading the Honeywell Pro 6000 manual PDF is straightforward. Visit Honeywell’s official website and navigate to the support section. Search for your specific model, and select the appropriate manual. Ensure the PDF is downloaded from a trusted source to avoid unauthorized content. The manual provides detailed installation instructions, wiring diagrams, and troubleshooting tips. It’s essential for a successful setup, offering clear guidance for both professionals and DIY enthusiasts. Regularly check for updates to ensure you have the latest version. This resource is invaluable for optimizing your thermostat’s performance and resolving any installation challenges.
Contacting Honeywell Support
For assistance with the Honeywell Pro 6000 thermostat, contact Honeywell support directly. Visit their official website and navigate to the contact page for various support options. Use the live chat feature, email, or phone support for immediate help. Ensure to have your thermostat model number ready for faster assistance. Honeywell also provides regional phone numbers and email addresses for specific inquiries. Avoid contacting unauthorized third-party services to ensure genuine support. The support team can address installation issues, firmware updates, and troubleshooting. They also offer guidance on finding the correct installation manual PDF for your device.